Part 19: Entity Framework in Core 3.1
#12 minutes of reading
In this article I will show you what is entity framework and benefit of using EF. It is an extension to traditional Ado.Net, we still can use Ado.Net to communicate with backend databases and read data from database. But on the other hand, we need to think which one is Rapid and faster. Rather than reinventing wheel again better use EF.
If you choose Ado.Net, lot of code you need to write code for creating connection reading data from Database and then converting data from Ado.Net objects to .Net objects (generics) which provide more flexibility, faster and easy to maintain. It also creates issue for maintenance later as project grows.
On other hand EF automatically handle connection with Database you just need to provide connection string. EF also provide data in .Net objects which easy for maintenance, filter, paging and lot more. EF create exact replica of database on frontend. Let’s understand this with an example in Asp.Net Core 3.1.
Entity framework core is designed from scratch, it is lightweight, cross platform and open source. If you observe below screen EF creates exact replica of database in frontend or mock classes nothing but ORM (object relational mapping). DbContext object from EF core is used to read/write data in database.

Create Asp.Net Core 3.1 application using VS2019 using MVC template. Sample code available on GitHub
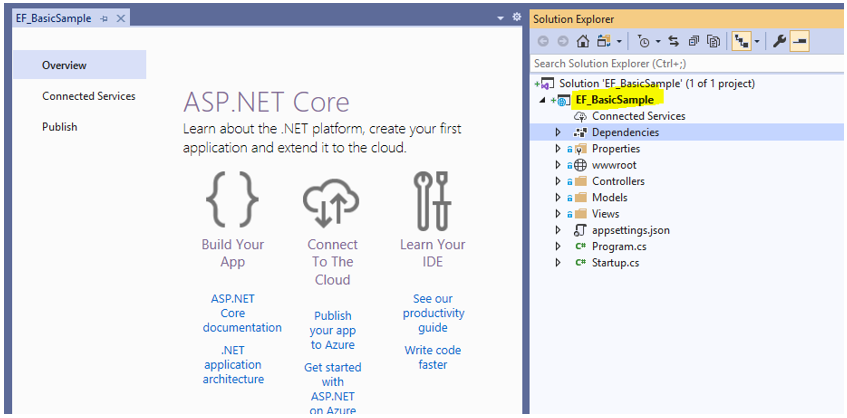
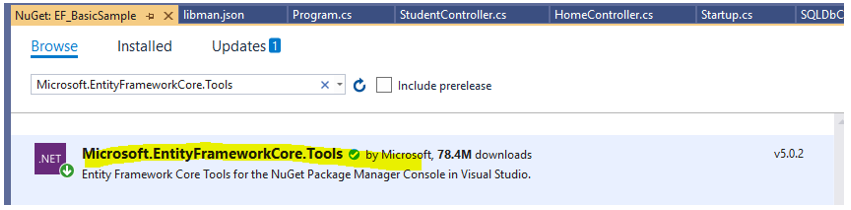
Project gets created with MVC template. Right click on project and select Manage NuGet packages.

It will open NuGet window, go to browse tab shown below and type Mocrosoft.EntityFrameworkCore.SqlServer to add package in project.

If you install above package all dependant packages get installed shown in below screen which comes under Dependencies->Packages.

Install below one more package from NuGet, it helps to write commands on package manager console, do not worry I will show you soon.
All required package to work with EF core gets installed successfully. Check in references for more details.
Add student model with few properties shown below.

Add DbContext class, this class communicate with database for reading and writing data from Database. I have created student Model in above screen which is mock for database table. Create property of Student model of type DbSet in SQLDbContext class which will create table in database. SQLDbContext class is inherited from DbContext and DbContext class provided from framework responsible for performing database operations.

Open Startup class file and below highlighted line in ConfigureService method. Make sure required namespace highlighted below are imported.

Connection string : ("Server=(localdb)\\mssqllocaldb;Database=AspNetCore3.1;Trusted_Connection=True;MultipleActiveResultSets=true")
Now open Package manager console to write command which will create new database with table Students.

First need to perform migration command ‘Add-Migration <Migration Name>’. It will create Migration folder under project directory and maintain history of each migration performed from front end to backend. It maintains data regarding operations (add/delete or alter) on database from core application.

Migration folder is added with migration class and what alteration performed on database also gets recorded.

Above Add-Migration command maintain records in Migration folder but still actual operation on database performed with below command ‘Update-Database’ and what operation need to perform on database are referred from the migration folder created in above screen.

Open database in VS 2019 or using SQL server management studio and observe database with Students table created.

Database also maintaining migration history performed from application level. Both migration from application and database level can revert back, I will show you in future article.

Add student controller and write below code, inject SQLDbContext object in constructor of controller Student and add index action.

Create strongly typed Index view with below option shown.

Run application and type URL shown below.

posted by Asif Sayyad @ February 01, 2021
0 Comments
![]()


0 Comments:
Post a Comment
Subscribe to Post Comments [Atom]
<< Home